1
2
3
4
5
6
7
8
9
10
11
12
13
14
15
16
17
18
19
20
21
22
23
24
25
26
27
28
29
30
31
32
33
34
35
36
37
38
39
40
41
42
43
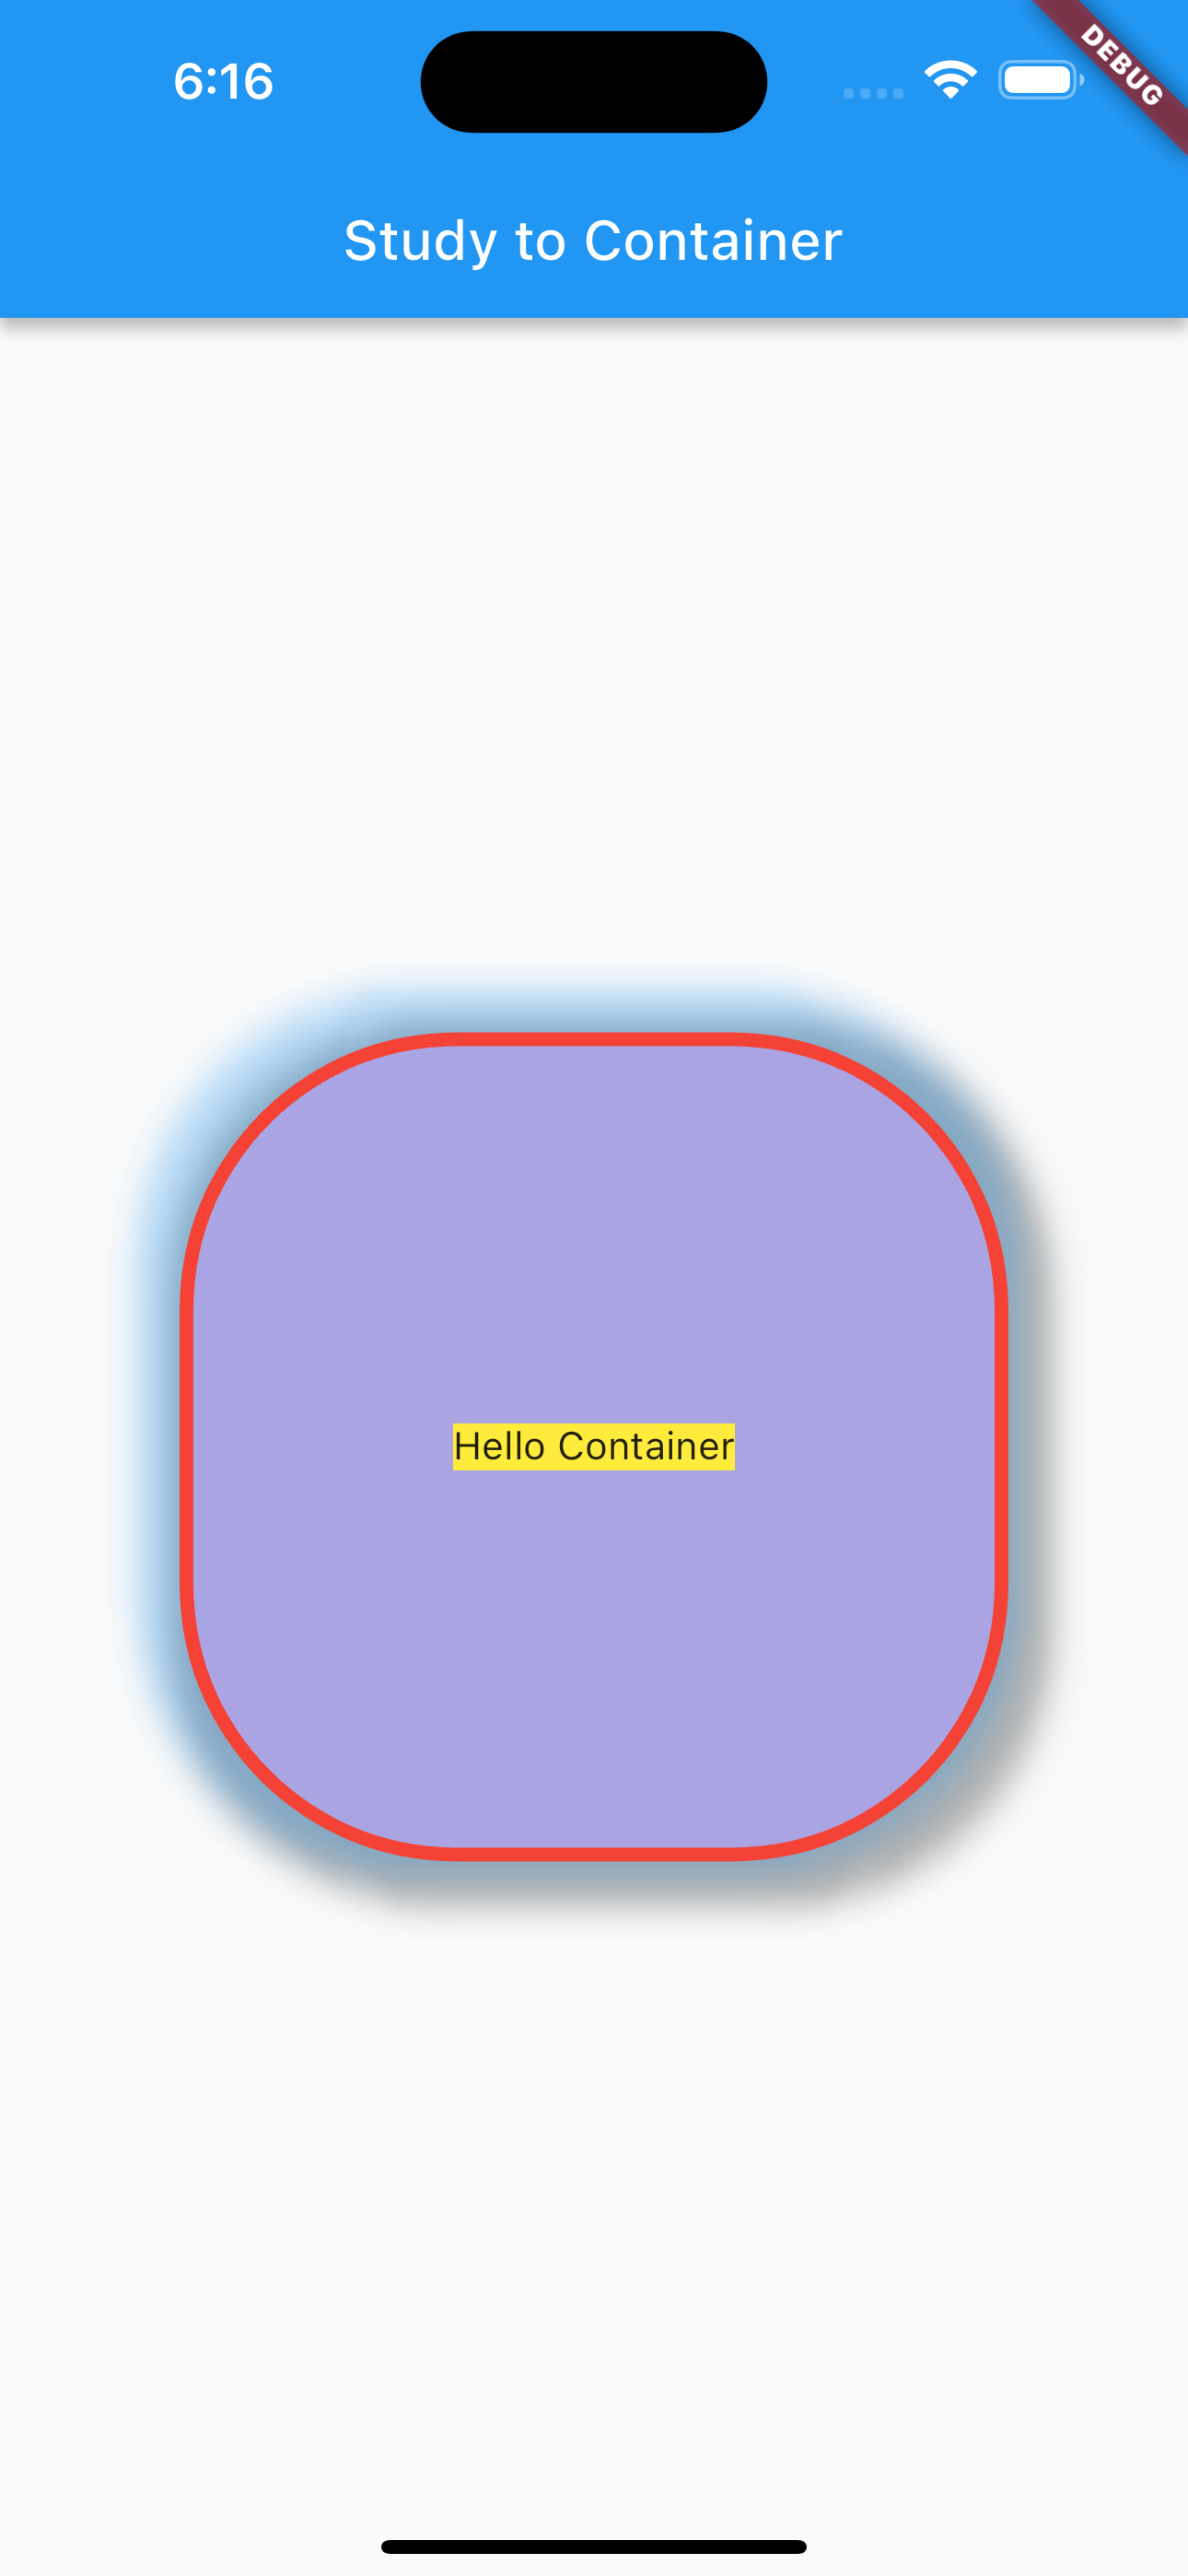
import 'package:flutter/material.dart';
void main() {
runApp(
MaterialApp(
home: Scaffold(
appBar: AppBar(
title: Text("Study to Container"),
),
body: CustomContainer(),
),
),
);
}
class CustomContainer extends StatelessWidget {
const CustomContainer({super.key});
@override
Widget build(BuildContext context) {
return Center(
child: Container(
width: 300,
height: 300,
// color: Color(0xFF87CBA1FF), color는 Container나 BoxDecoration 둘 중 하나만!!
padding: EdgeInsets.fromLTRB(10, 12, 10, 12),
decoration: BoxDecoration(
color: Color(0xFF87CBA1FF),
border: Border.all(color: Colors.red, width: 5, style: BorderStyle.solid),
borderRadius: BorderRadius.circular(100), // 구 형태일 경우 150으로 (width와 height이 300이라서)
boxShadow: [
BoxShadow(color: Colors.black.withOpacity(0.3), offset: Offset(6, 6), blurRadius: 10, spreadRadius: 10),
BoxShadow(color: Colors.blue.withOpacity(0.3), offset: Offset(-6, -6), blurRadius: 10, spreadRadius: 10),
]
),
child: Center(
child: Container(
color: Colors.yellow,
child: Text("Hello Container"))),
),
);
}
}
Keynote
StatelessWidget에 기능별로 커스텀 위젯을 만들어서 기능별로 묶을 수 있다. BoxDecoration에서 주의할 점은 내부에 BoxDecoration 선언이 되어있으면 외부에 선언된 Color가 에러를 내게 된다. color나 decoration 둘 중 하나는 null 값이어야 한다. Container를 Conter 위젯으로 감싸면 가운데 정렬로 쉽게 배치할 수 있다. 두 개의 BoxShadow의 offset을 같은 정수의 양, 음의 정수로 선언할 경우 더 디테일한 UI를 만들 수 있다.