Flutter에서는 Text widget에서 문자의 스타일을 바꿀 수 있다. Text widget은 단일 스타일의 텍스트 문자열을 표시한다. Text widget에는 TextStyle class로 텍스트의 형식을 지정하고 폰트 스타일을 지정할 수 있다. Google Fonts를 이용해 Custom Font를 선언하는 방법을 알아보자.
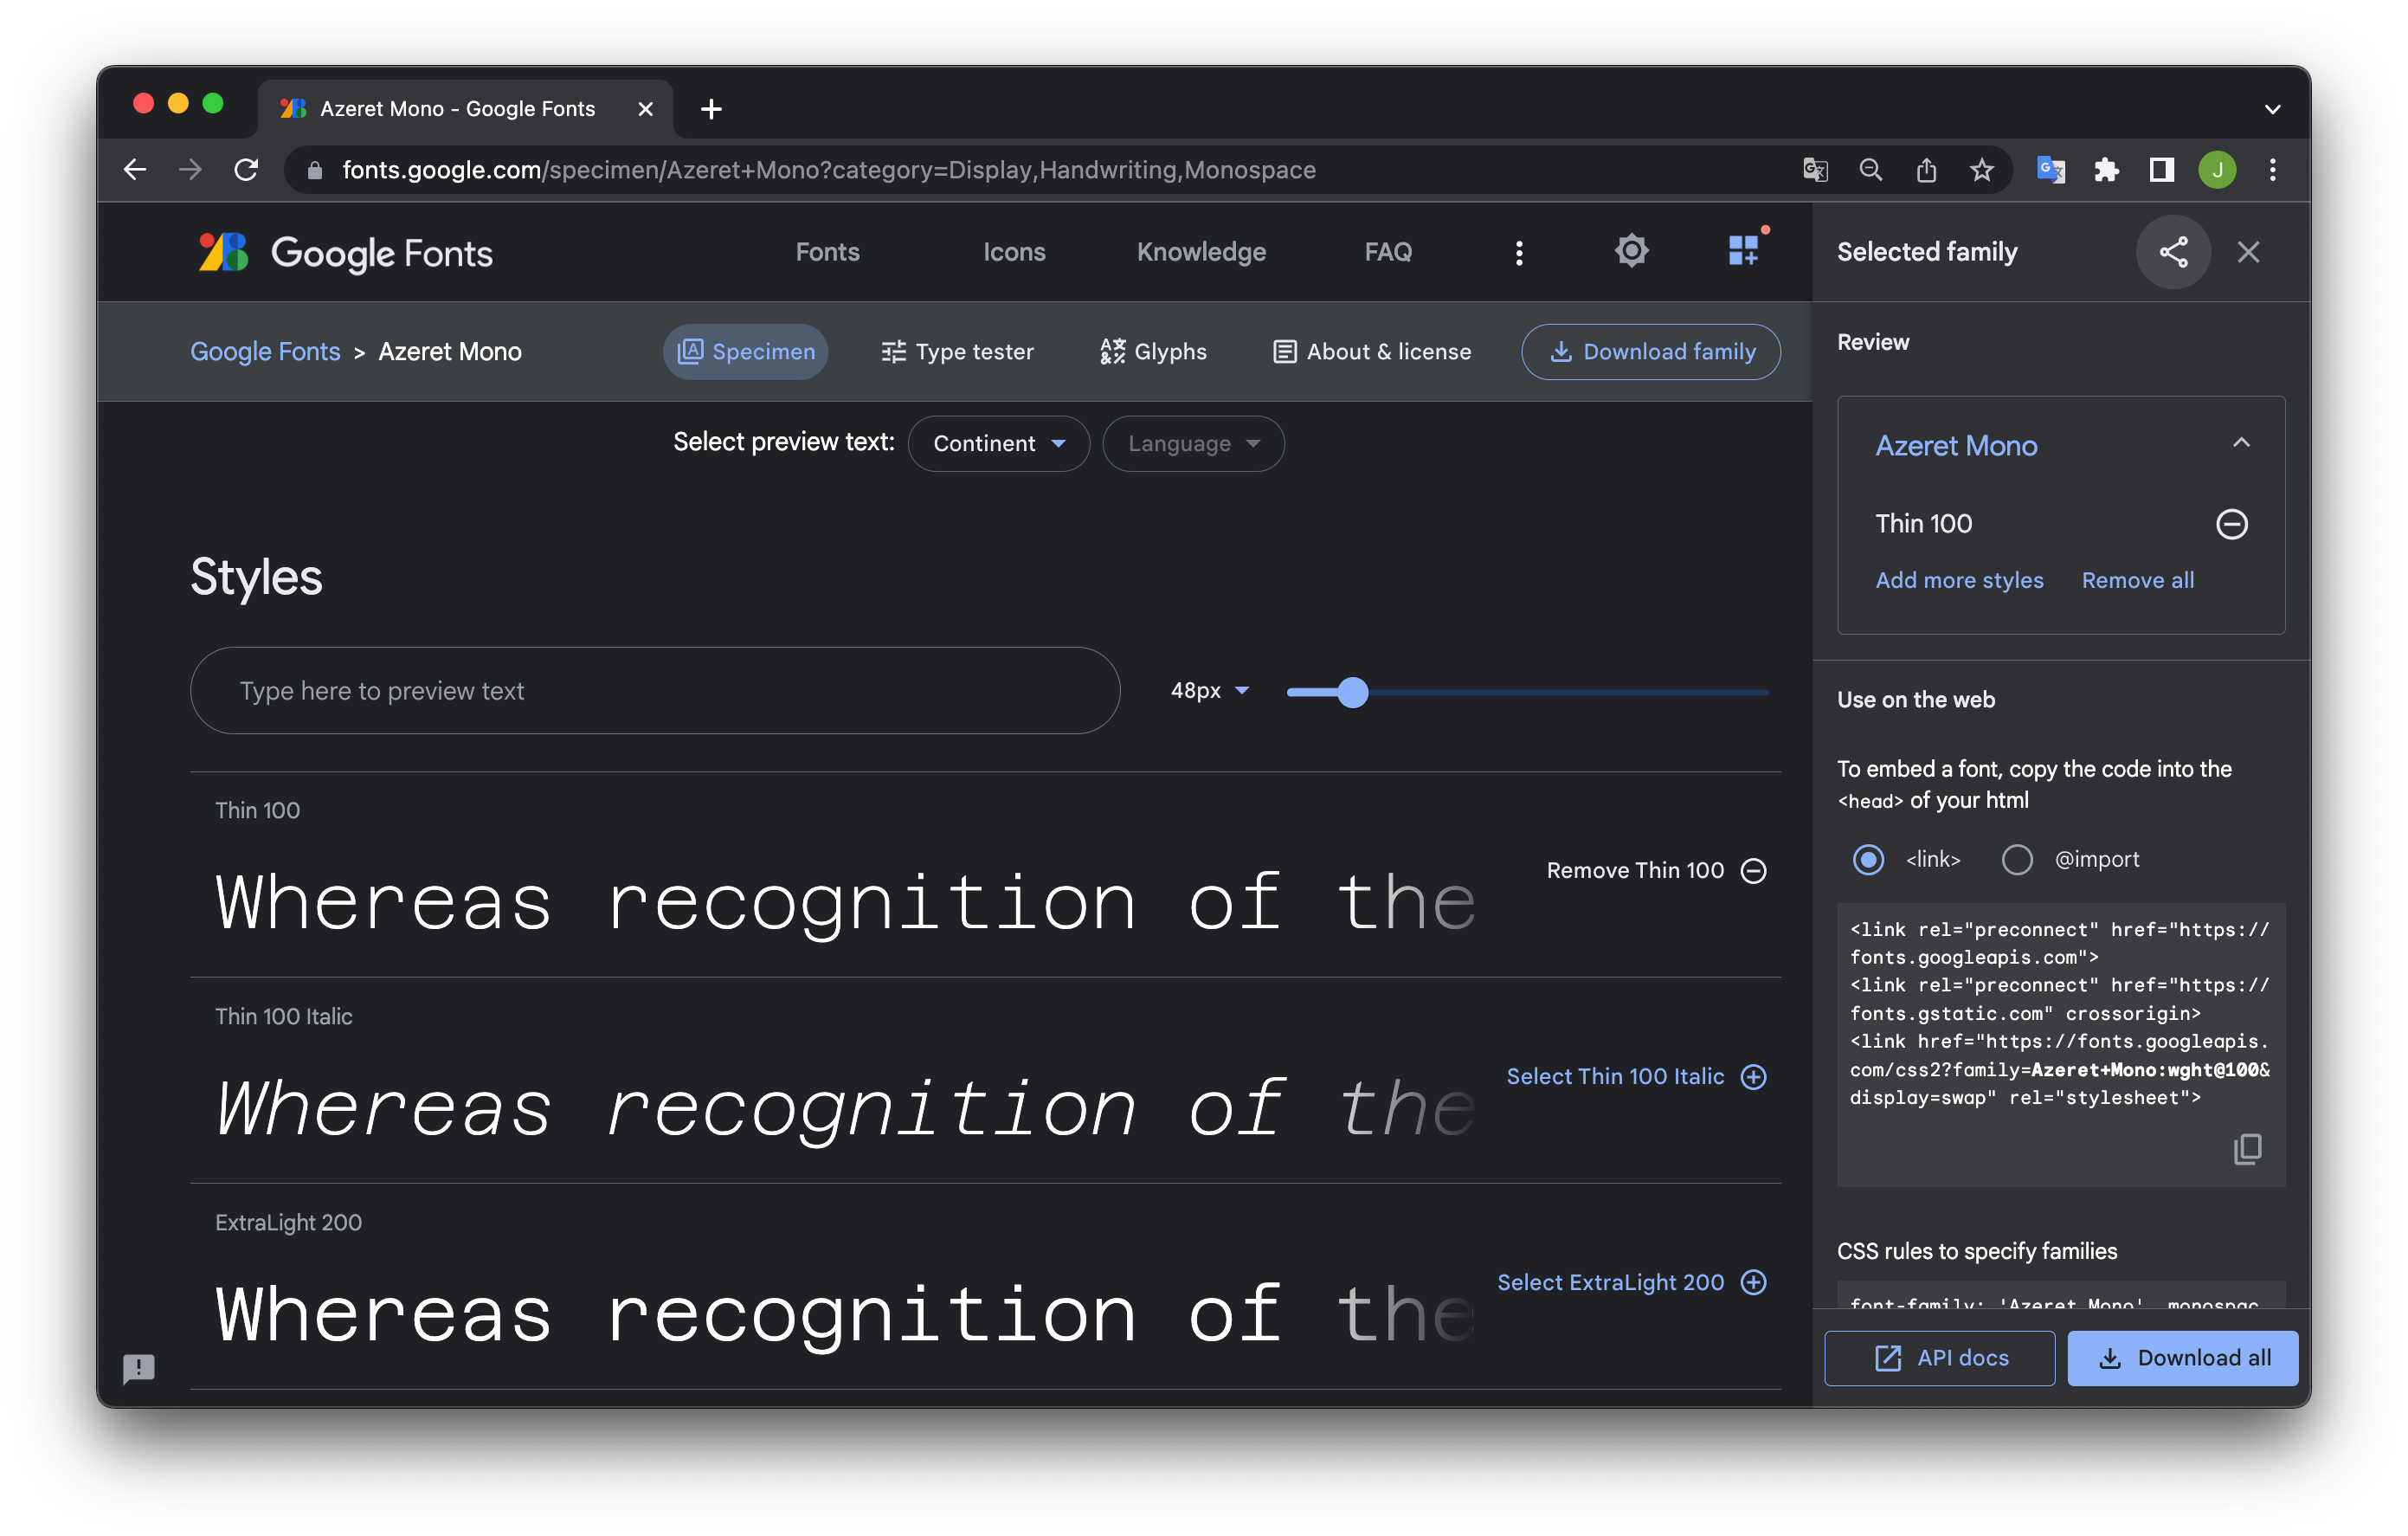
Google Fonts에서 원하는 폰트 다운로드
구글 폰트는 구글에서 제공하는 오픈 소스 폰트 라이브러리이다. 웹 페이지 또는 앱에서 사용할 수 있는 무료 폰트를 제공한다.
Google Fonts에서 원하는 폰트를 다운로드 받는다. 
다운받은 .ttf 파일은 fonts 폴더를 만든 후 안에 넣어준다.
Custom Fonts
pubspec.yaml에서 Custom fonts 선언
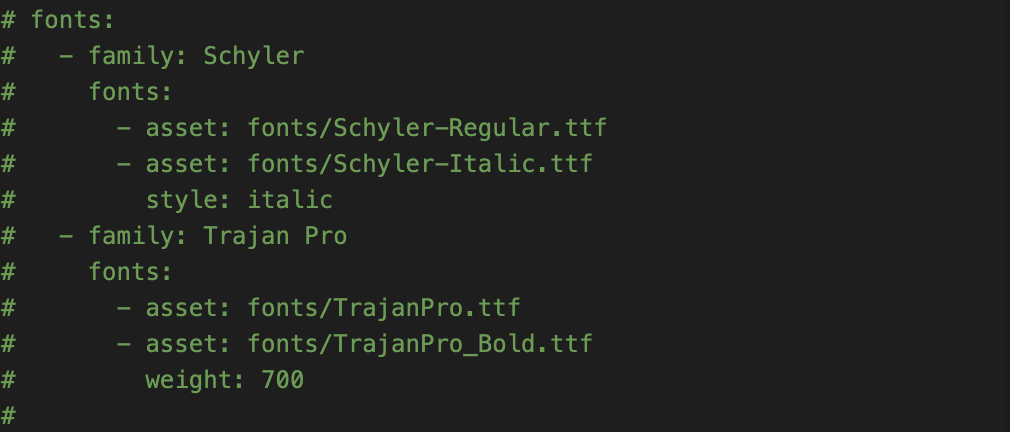
사용자 정의 폰트는 아래와 같이 pubspec.yaml 파일에서 선언할 수 있다.
처음에 pubspec.yaml에 들어가면 fonts 선언하는 줄이 주석 처리가 되어있다.
드래그하여 command+/를 하면 주석이 풀린다. family 속성은 fontFamily 인수에서 사용할 수 있는 폰트의 이름을 결정한다. asset 속성은 폰트 파일의 상대 경로를 넣어주면 된다.
1
2
3
4
5
flutter:
  fonts:
    - family: AzeretMono
      fonts:
        - asset: fonts/AzeretMono-Thin.ttf
지원하는 font formats
현재 Flutter에서 지원되는 폰트 형식:
- .ttc
- .ttf
- .otf
.woff, .woff2는 지원하지 않는다.
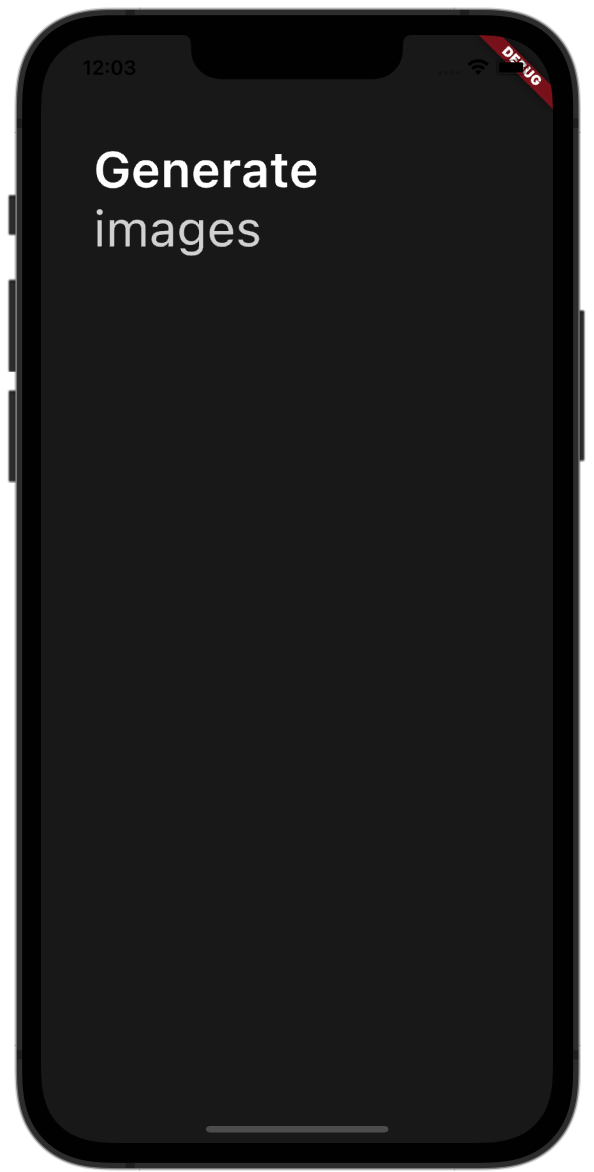
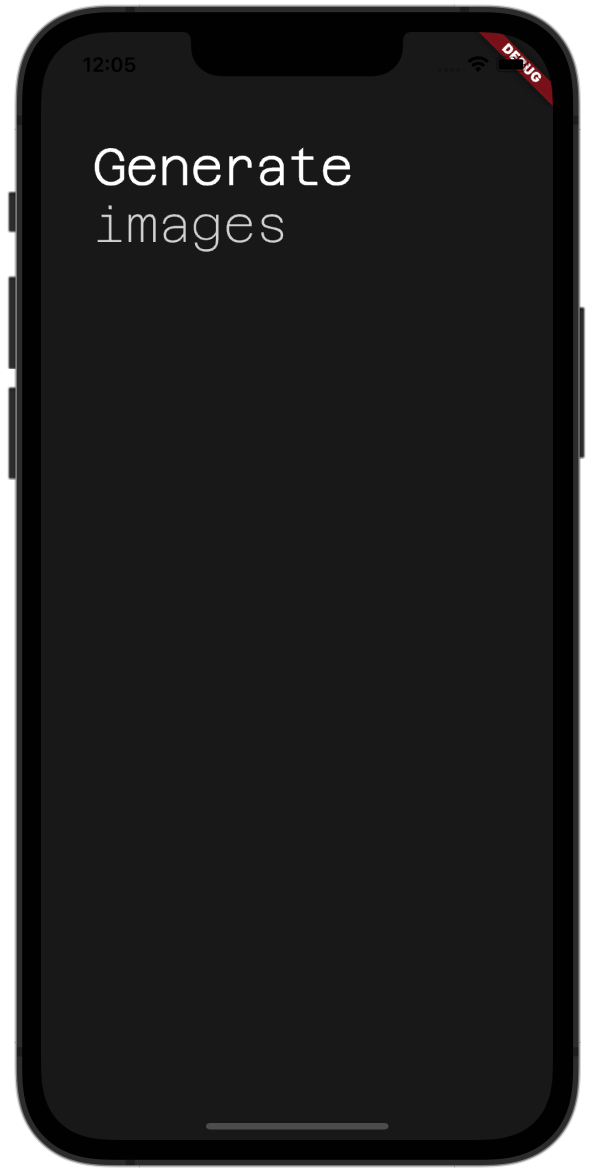
폰트 변경 전과 후
왼쪽이 변경 전, 오른쪽이 변경 후 이다.
1
2
3
4
5
6
7
8
9
10
11
12
13
14
15
16
17
18
19
20
21
22
23
24
25
26
27
28
29
30
31
32
33
34
35
36
37
38
39
40
41
42
43
44
45
46
47
48
49
50
51
import 'package:flutter/material.dart';

void main() {
  runApp(App());
}

class App extends StatelessWidget {
  @override
  Widget build(BuildContext context) {
    return MaterialApp(
      home: Scaffold(
        backgroundColor: Color(0xFF181818),
        body: Padding(
          padding: EdgeInsets.symmetric(horizontal: 40),
          child: Column(
            children: [
              SizedBox(
                height: 80,
              ),
              Row(
                mainAxisAlignment: MainAxisAlignment.start,
                children: [
                  Column(
                    crossAxisAlignment: CrossAxisAlignment.start,
                    children: [
                      Text(
                        'Generate',
                        style: TextStyle(
                            color: Colors.white,
                            fontSize: 38,
                            fontFamily: 'AzeretMono',
                            fontWeight: FontWeight.w600),
                      ),
                      Text('images',
                          style: TextStyle(
                            color: Colors.white.withOpacity(0.8),
                            fontSize: 38,
                            fontFamily: 'AzeretMono',
                          )),
                    ],
                  )
                ],
              )
            ],
          ),
        ),
      ),
    );
  }
}


